Since December 2021 a new type of sensor is used.
If you purchase a new sensor and your roaster was built before the above mentioned date you will need to make this change.
Note that you will also need to adjust your roasting profile. This is because the new PT100 is thicker.
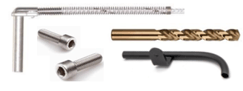
You will need a PT100 6mm (new model), 2 Allen bolt M4x10, drill 6,5mm and a black tube to introduce the new probe.
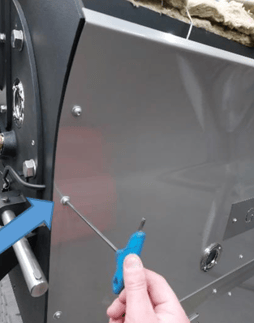
1.-Remove the old PT100, starting by removing the two bolts from the door holding the PT100.
2.-Remove the three screws from the right side trim.

3.-Remove the bolts from the right side plate. This are ten bolts, then you take the side panel off. Ask for help, in this step you need two people to remove the side panel!
4.-Remove two bolts from the roof.
Turn the roof slightly up and you can see the cable of the PT100 that runs from the front to the back.
5.-At the back of the roaster disconnect the ST3 plug and remove the four screws to access to the conector.
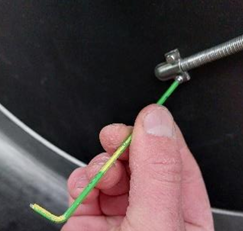
Remove the wires of the old sensor by gendly pressing the orange button with a small and flat screwdriver while pulling on the wire.
Position 12, 13 and 14 in the plug.
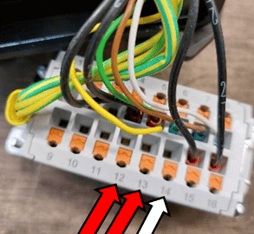
Position 12: Red Cable
Position 13: Red Cable
Position 14: White Cable
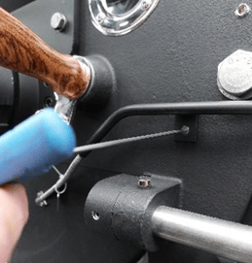
7.-Now the complete cable from the PT100 can be removed.
The new PT100 with cable can be mounted in the other way around. Think you will also replace the new guide tube.
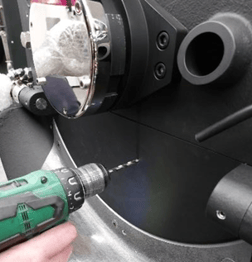
8.-In the door of the roaster where the PT100 will be placed we have to drill the hole to 6,5mm. The hole (3.5mm) that is already in the door must be drilled. This is because the new model of the PT100 is thicker.
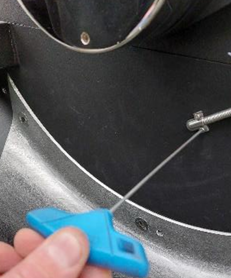
You can re-use the two bolt holes M4 with which the old PT100 is screwed in.
Now test the PT100, If everything goes well, you can reattach the roof, side panel and trim in the reverse order.